|
Step 5
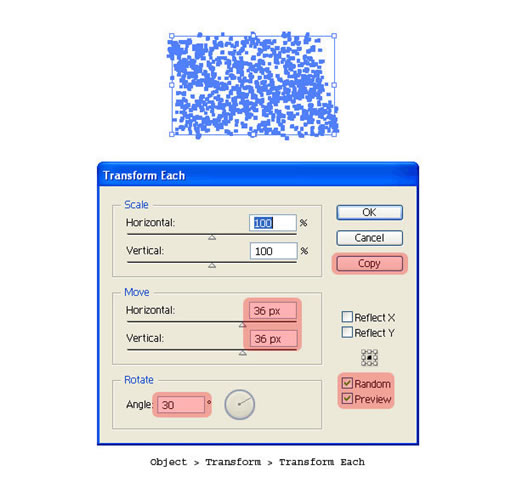
现在,基本的我们的喷溅元素已经准备好了。选择全部的小形状,单击 对象 > 变形 > 单独变形 (Alt + Shift + Command + D)。输入横向/纵向值为30px. 再循环中输入30度,选择随机。然后点击复制。
Step 6
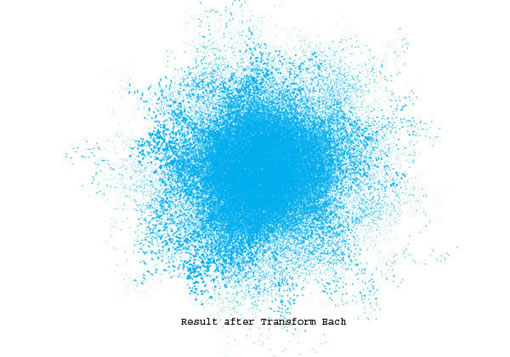
现在,不要点击任何地方,按住 Command + D 重复大概 25 到 30 次直到你看到类似于下面的图像效果。 (You may encounter a slower performance due to increase in number of anchor nodes. Once the high resolution raster file is exported, we need not worry about the performance).
出处:中国包装设计网
责任编辑:bluehearts
上一页 用Illustrator来制作色彩喷溅效果 [2] 下一页 用Illustrator来制作色彩喷溅效果 [4]
◎进入论坛Photoshop、Fireworks版块参加讨论,我还想发表评论。
|


