|
原文来自:AdobeTutorialz
翻译:S.Shek
A detailed tutorial on how to create this awesome logo.
一篇详细的教程教你如何制作一个漂亮的logo.
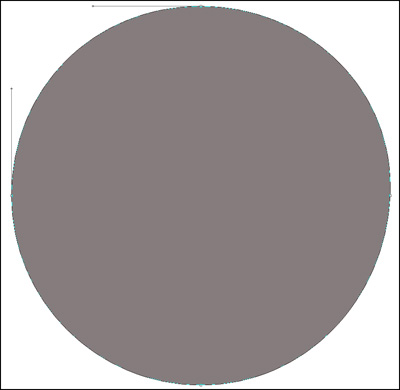
Begin working by creating a new file (File>New) of 854x854 px and 72 dpi. Use on it the Ellipse Tool (U) to represent the basis for the logotype to be of the Google Chrome browser.
先新建画布(文件>新建),大小854x854 px,分辨率72.用椭圆工具(U)画出一个Google Chrome浏览器图标的底层(译者:别忘了选定形状图层模式)
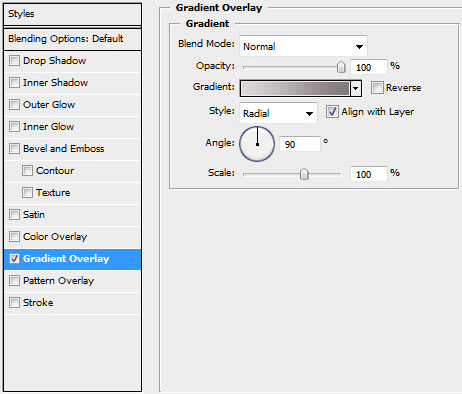
Select for this layer the parameters from below by making a mouse click on this layer on the layers?panel: Blending Options>Gradient Overlay
右键单击此图层,混合选项,图层样式中选择渐变叠加
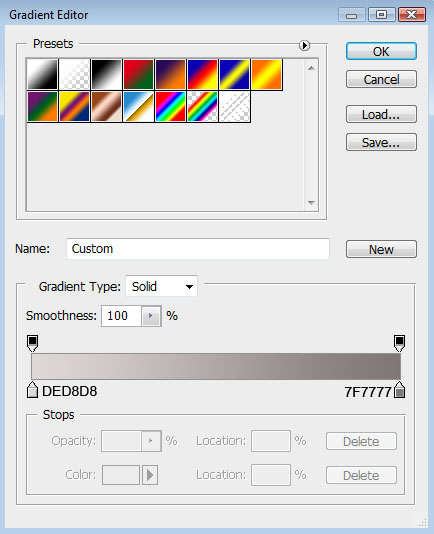
Gradient parameters:
渐变设置如下(颜色:#DED8D8--#7F7777,样式:径向):
出处:蓝色理想
责任编辑:bluehearts
上一页 下一页 制作Google Chrome浏览器LOGO [2]
◎进入论坛Photoshop、Fireworks版块参加讨论,我还想发表评论。
|


