|
我翻译好了,奉献上来,顺便我也保留一个我在自己博客上的原文链接:
http://www.rainoina.com/raino/archive/355.html
我主要是翻译大意,没有逐字翻译,大家不要太苛求我了,呵呵
Dynamic Recessed Watercolor Typography in Photoshop
原文地址:
http://psdtuts.com/tutorials/designing-tutorials/dynamic-recessed-watercolor-typography-in-photoshop/
版权声明:英文版权归Fabio所有,中文翻译由RainoXu(http://www.rainoina.com)制作,未经许可不得用于商业用途,转载请附上这段完整版权声明,否则一切法律后果由转载者承担。
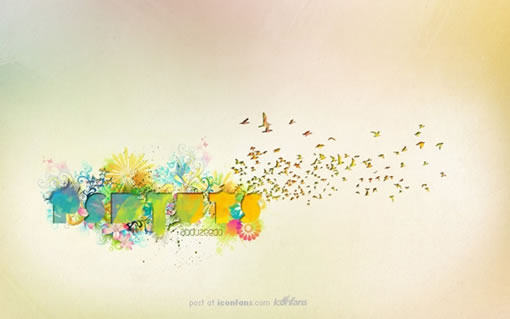
Final Image Preview
Before we get started, let's take a look at the image we'll be creating.
在我们开始创作以前,先来看一下最终我们所要实现的效果吧(上图)。
Step 1
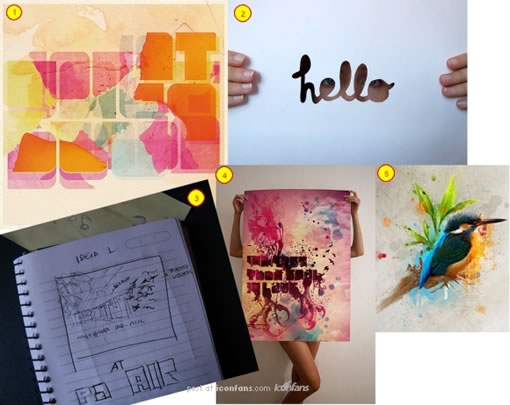
The first step here is actually the first step in all my projects. I look for references images based on my sketch. This research and planning process is intertwined. It allows me to look through various elements and plan the direction to follow. Of course, I can change the direction during the creation as this process is fluid. So I found multiple images with effects I really liked and wanted to apply to a design (images: 1, 2, 4, and 5). Then I put some ideas on paper (image 3), added my own direction, and developed my concept.
我的整个创作的第一步,是根据我的创作大意寻找了许多相关的图片素材,同时我开始对我的创作过程进行规划。这样我便在收集图片的时候就开始定下我的设计路思路与方向。当然,我可以在创作的时候改变我的思路,所以我收集了许多效果的图片,都是我喜欢的以及在此次设计中会应用到的(下图中的1/2/4/5),紧接着我便把我的想法画在了纸下(下图的3),并融入了我的设计思路,同时也形成了我的一个设计理念。
出处:蓝色理想
责任编辑:bluehearts
上一页 下一页 photoshop艺术效果 [2]
◎进入论坛Photoshop、Fireworks版块参加讨论,我还想发表评论。
|


