|
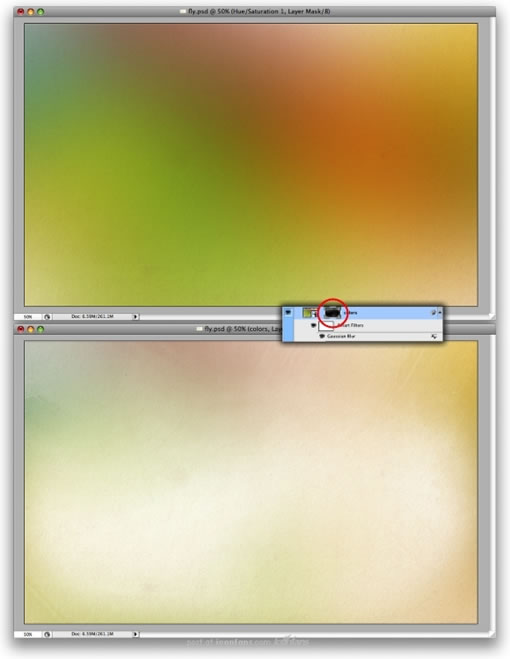
Step 8
Go to Layer > Layer Mask > Reveal All. Select a big round brush and change the hardness to 0%. Choose white for the color and paint over the layer mask to hide some areas of the layer. Mainly in the center.
对当前图层进行操作:图层-添加图层蒙板-显示全部,然后选用一个大号的圆形笔刷,调整它的硬度为0%,颜色为白色,在这个图层蒙板上面涂抹以隐藏掉图层的一些区域――主要是中间的区域。
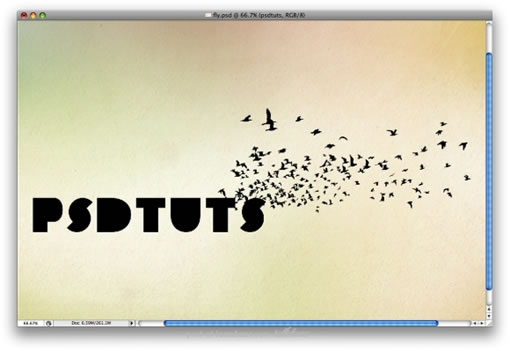
Step 9
Write the text you want, for the typeface I used a P22 font called Constructivist. You can use the one you like the most. Just make sure that it's really bold. Also, I placed some birds I got from the GoMedia's Arsenal (Set 5). The pack is called Flock of Birds, but I'm sure there are brushes with birds like that you can search on the web for.The main idea here is make the birds coming from the text. That's why I placed them over the S and a bit on the T.
然后打上一些你想好的文字,这里用到的字体是“Constructivist”,你也可以用别的你喜欢的字本,但有一点要注意的是,你所用的字体必须是粗体,并且看起来像下图中的一样,我还添加了一些鸟类的图案,你可以用手头的一些鸟类笔刷来实现相同的效果,或者如果你没有的话,可以在网上搜索一下下载相应的笔刷。这里主要的一个构思是要让鸟类图案看着像是从文字里飞出来的,所以将鸟类的图案尽量放在“T”和“S”附近。
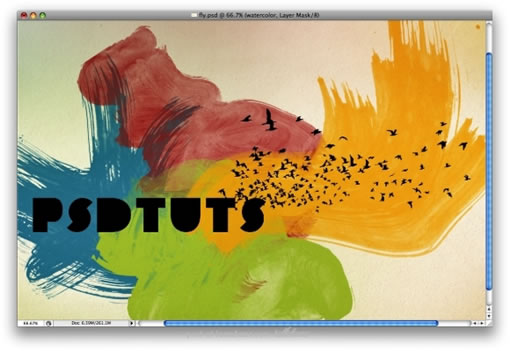
Step 10
Again, let's use that group of layers painted with the watercolor brushes we hid on the Step 6. First, use a big version, as in the image below. Rename the group to "Watercolor Big" and change the Blend Mode to Multiply.
接下来继续使用着面我们用“watercolor”处理的组,即那个放大过的靠后的那个组。将它重命名为“watercolor Big”并更改图层叠加模式为叠加。
出处:蓝色理想
责任编辑:bluehearts
上一页 photoshop艺术效果 [3] 下一页 photoshop艺术效果 [5]
◎进入论坛Photoshop、Fireworks版块参加讨论,我还想发表评论。
|


