|
Step 5
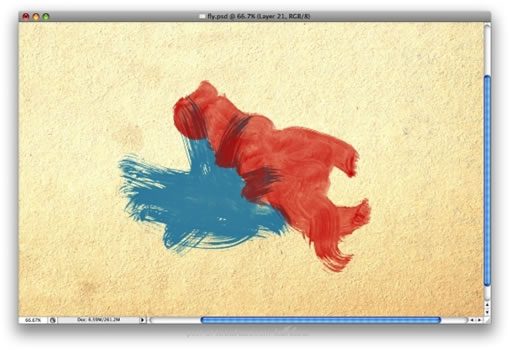
Create a new layer, select a different brush and use red for the color. Once again paint the layer. Also you can try different Blend Modes, in this case I used Normal but you can try Multiply as well.
新建一个图层,选用红色,像上一个步骤那样操作。同时你还可以尝试着用不同的图层叠加开式,在这里我使用的是正常模式。
Step 6
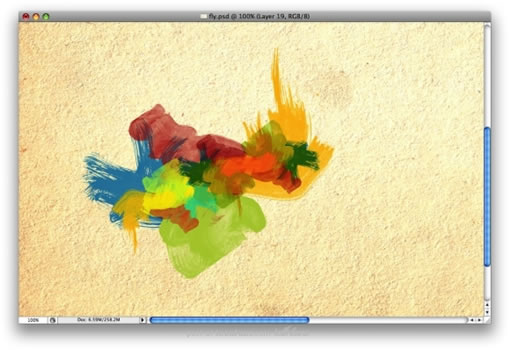
Create more layers and paint each layer with different colors. Use yellows and greens and different blend modes as well. Try to reproduce the image below.
继续创建更多图层,像上面的步骤继续操作,得出的效应该和下图差不多。在这个过程中,你可以不断地尝试不同的图层叠加模式。
Step 7
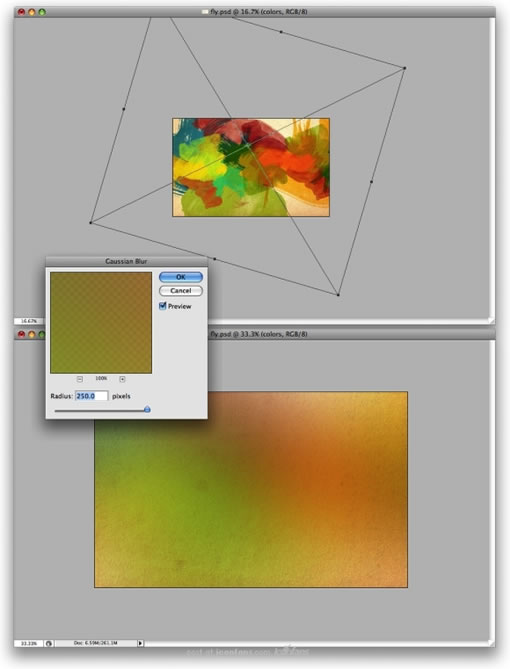
Group all the layers with watercolor brushes and duplicate the group. You can hide one. With the other layer go to Layer > Merge Group. Rescale the layer and make it bigger, as in the image below. Then go to Filter > Blur > Gaussian Blur, and use 250 for the value. Now change the Blend Mode to Multiply.
把所有的用"Watercolor"笔刷处理好的图层都放到一个组里去(既“序列”),把这个组复制一个备份,并隐藏掉一个组。然后把显示的那个组合并掉(Ctrl+E)得到一个新图层,并把它放大一些,放在靠后的图层位置,继续用高斯滤镜处理(滤镜-模糊-高斯模糊),填入250的值,完成后将图层的叠加模式改成叠加。
出处:蓝色理想
责任编辑:bluehearts
上一页 photoshop艺术效果 [2] 下一页 photoshop艺术效果 [4]
◎进入论坛Photoshop、Fireworks版块参加讨论,我还想发表评论。
|


