|
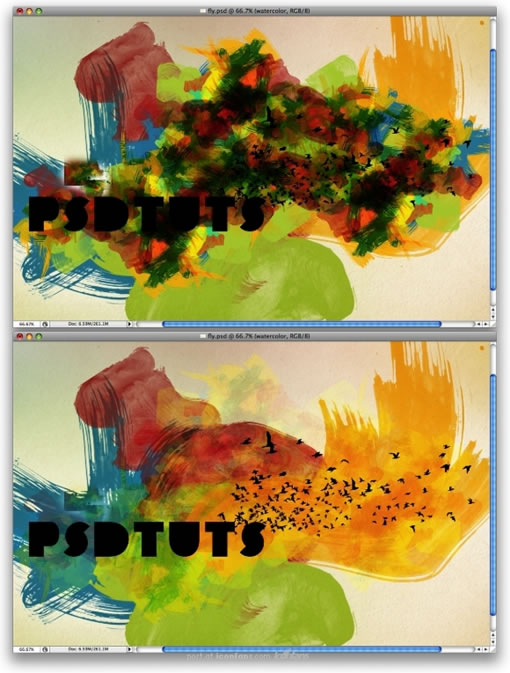
Step 11
Duplicate the group several times. Change the Blend Mode to Multiply for each copy. Then select all new copies and merge them in one unique layer. Just go to Layer > Merge Layers. After that change the Blend Mode to Soft Light, rename the layer to "Watercolor Small," then group it with the "Watercolor Big" group. Rename this new group to "Watercolor."
复制这个组得到几个复本,每个复本都用不同的图层叠加模式,然后选中这些新得到的复本,将它们一起合并成一个单独的图层,并将得到的这个新图层的图层叠加模式设置成“柔光”,然后重命名这个图层为“watercolor small”,然后把它和"watercolor Big"编成一个组,将这个新组命名成为“ watercolor”。
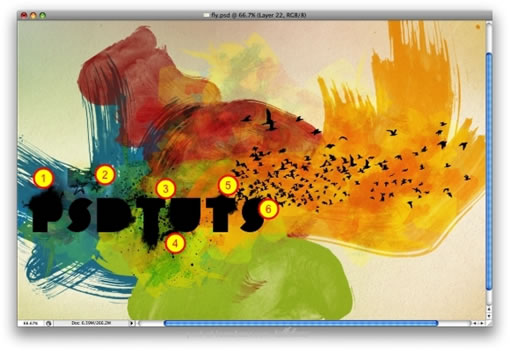
Step 12
Here let's add more elements to our design. Use some brushes and paint over some letters (1-6). I used some Brushes from Brusheezy: 1, 2, 3, 4. Make sure you paint in black and with small brushes.
接着,让我们往这个设计里加入更多的元素,用不同的笔刷,在新的图层里向那些文字的周围涂抹几下,像下图一样的效果,用黑色与小号的笔刷。主要的部位在图中用数字标注。
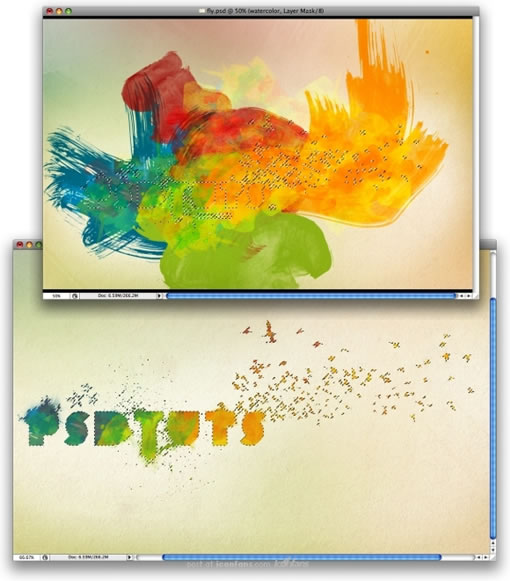
Step 13
Merge the layers with the text, the birds and the brushes with the splatters and other details. Go to the Layer palette, then hold down the Command Key and click on the thumbnail of the layer you have just merged. That will create a marquee selection, as in the image below. Now select the "Watercolor" group and go to Layer > Layer Mask > Reveal Selection.
把文字图层,鸟类图案的图层,以及你上一步骤中涂抹的图层和一些其他细节相关的图层都合并掉得到一个新图层,然后在图层面板中,按住Ctrl键,再击这个新图层,便会选中这个新图层的区域,然后再切换到“watercolor”的图层,进行这样的操作:图层-添加图层蒙板-显示选区。
出处:蓝色理想
责任编辑:bluehearts
上一页 photoshop艺术效果 [4] 下一页 photoshop艺术效果 [6]
◎进入论坛Photoshop、Fireworks版块参加讨论,我还想发表评论。
|


