|
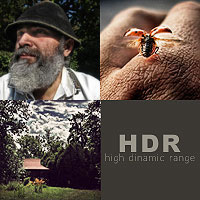
Achieve HDR Style Effects Using Photoshop and the Lucis Art Filter
��� PS �� LUCIS ART �˾�������Ƭ�ﵽHDRЧ����
��ǰ�ؿ���PS����CS3���ϰ汾�������в�����ʹ�õ��� w & b ���ܣ����� lucis�˾� �������汾��һ����LUCIS ART 3.0 ����һ���� LUCIS PRO 6.0 ���������ģ�����Ŀǰ�����İ汾����ֻ��5.03�����˾���Ч������Ҫ���������Ч������ǿ�ع�ȣ�
Hey everybody! In this tutorial, I'll show you some great techniques to achieve HDR effects. There are a lot of different techniques out there, but I prefer to use this specific filter called LucisArt. Soon there will be a new and better release called Lucis Pro. Till then we'll use this one. You can buy it from their website or take the 30 days trial to test and see if you like it. Also, the filter is only available for Windows. The new Lucis Pro will also be available for MAC though.
����µ�������LUCIS����Դ�߰汾��������Ӧ����MAC������
Author: Constantin Potorac
���ߣ� ��˹̹�� ���а���
I am a freelance designer living in Romania. I discovered the beauty of design a few years ago. Since then I have dedicated my time to becoming a great designer (work in progress)!
Part I - Applying HDR Styling to a Portrait Image
��һ���� �� Ӧ��HDRЧ����������Ƭ��
This tutorial has three parts. We'll review adding HDR styling to multiple types of images using the LucisArt filter. In this first part, we'll work on adding more interest with HDR styling to a portrait photo.
����̷̳������֣����ǽ��ظ�ʹ�� lucisart�˾� ��Ӧ�� HDRЧ�� �ڲ�ͬ���͵�ͼƬ���ڵ�һ����������ǽ���Ȥ��ע��������Ƭ���档
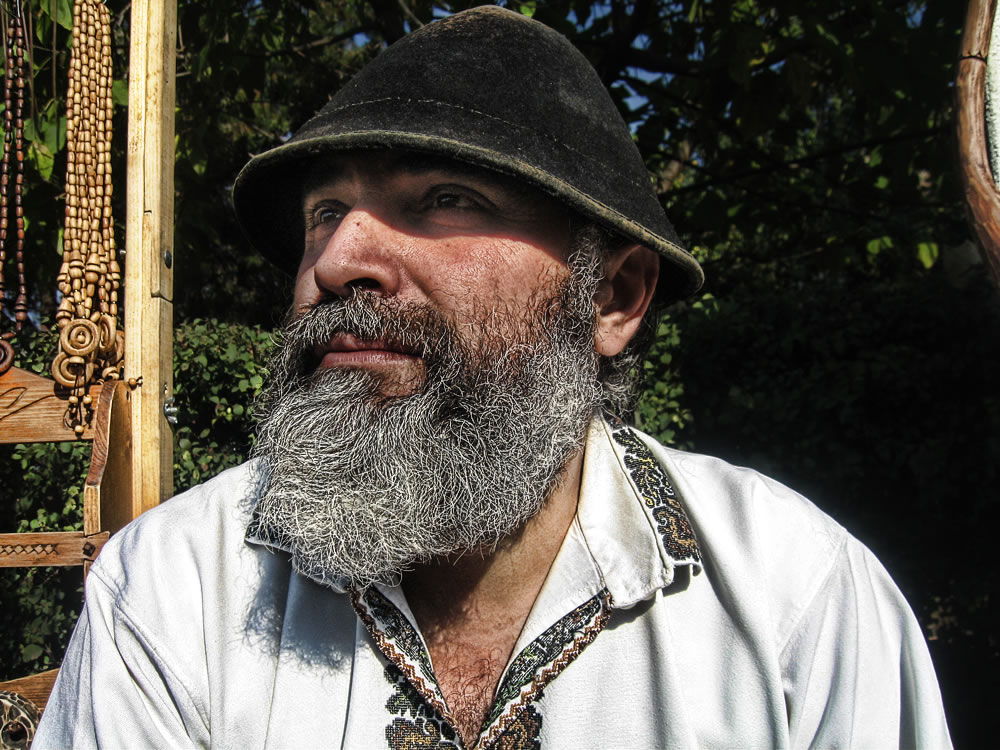
Final Image Preview for Part I
��һ���� ���ͼչʾ
(�����ͼȫ�ߴ�ۿ�)
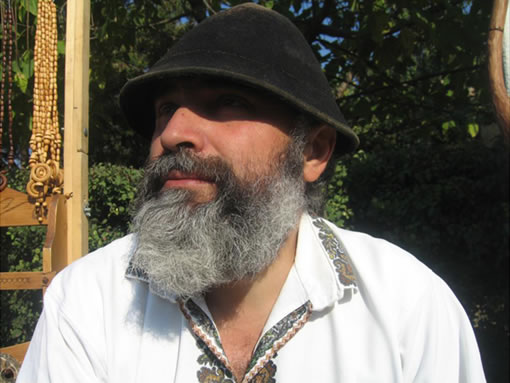
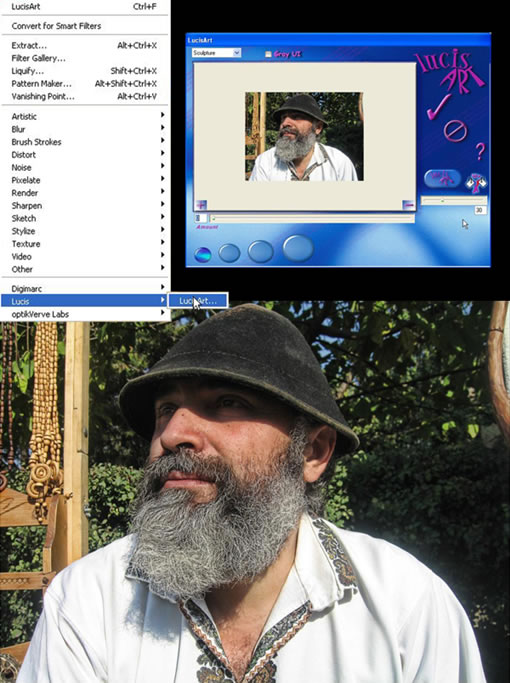
Step 1
Open up your image in Photoshop. I'll start with a portrait image I shot.
��һ������Ф�����Ƭ����Ҫ�������������ʲô������
Step 2
First thing you need to do is to duplicate the layer (J). Then go to Filter > Lucis > LucisArt. Here you will need to select the Sculpture option and set it to something like 30.
������Ҫ�ȸ���ͼ�� CTRL+J , Ȼ��ʹ���˾�-lucis-lucisart��ѡ�� sculpture (��̵���˼) ѡ����ò���30.(�Ҹо�������������)
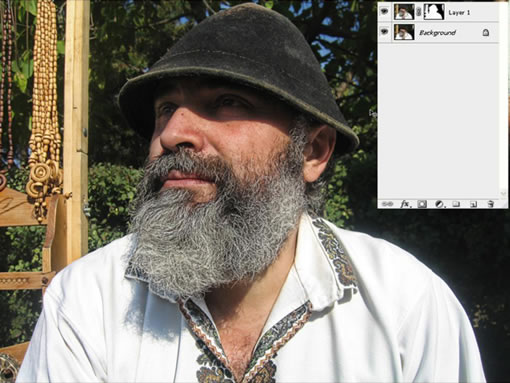
Step 3
Create a Layer Mask for this layer and fill it with black. This will hide all the effect. Then, take the brush (set to white) and draw over the man and the products he was selling. Leave the trees untouched.
Ϊ�ò㽨��һ��ͼ���ɰ沢����ɫ�������������е�Ч����Ȼ����ˢǰ��ɫ���óɰ�ɫ�����˺�ũ���ﻭ��������Ҫ�����������Ҷ��
Step 4
Next I will add a new adjustment layer. Select the curves from the drop-down menu.
�����ҽ�����һ������ͼ�㣬ѡ�� ���� �������ĵ�����������(ע��۲�ͼ�����dz�仯)
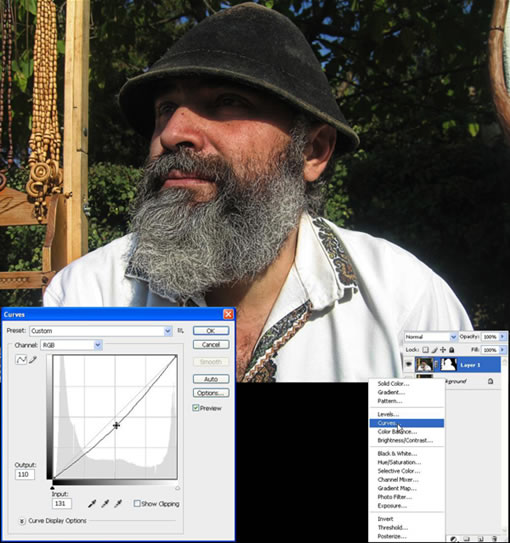
��������ɫ����
���α༭��bluehearts
��һҳ ��һҳ PS��רҵ�˾�����ͨ��Ƭ��HDRЧ�� [2]
�������̳Photoshop��Fireworks���μ����ۣ��һ�������������
|