|
Step 5
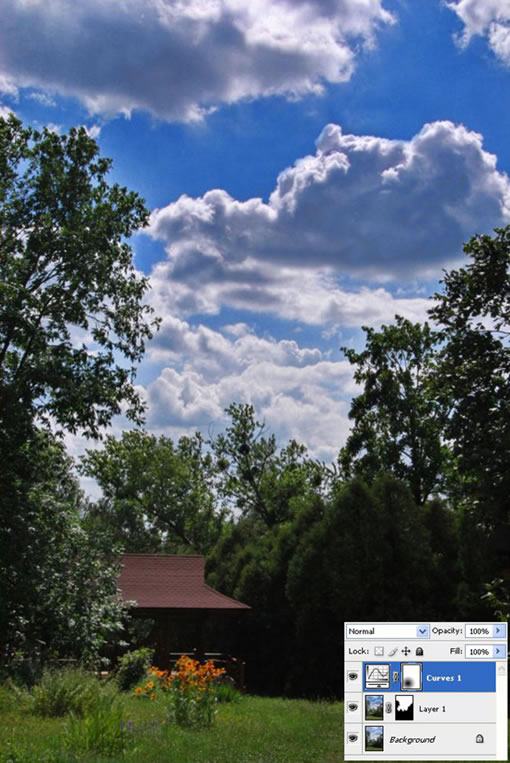
Next use a black Radial Gradient (G) and lighten the gazebo. Do this into the mask of the curves layer.
在曲线蒙版里,使用黑色渐变(径向),让下面的小屋子亮起来。(gazebo这词儿,叫眺望台,或者露台,我感觉还是小屋子吧!)
Step 6
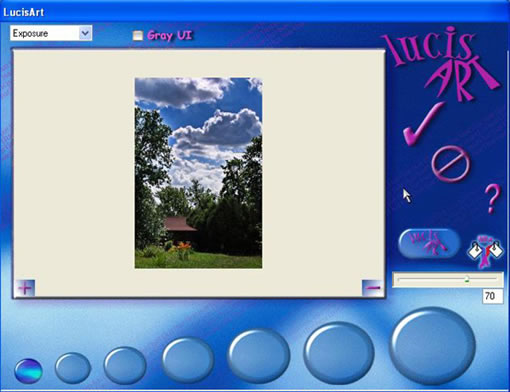
Next press Command + A to make a selection, go to Edit > Copy Merged, and then Edit> Paste. Next go to Filter > Lucis > LucisArt and select Exposure and set it to 70.
下面 CTRL+A 全选, 编辑-合并拷贝, 然后 编辑-粘贴,然后 滤镜-LUCIS-LUCISART,然后选择曝光(参数70)。(作者在这3种图像里使用3种不同的曝光度,这是基于对摄影方面的认识。)
Step 7
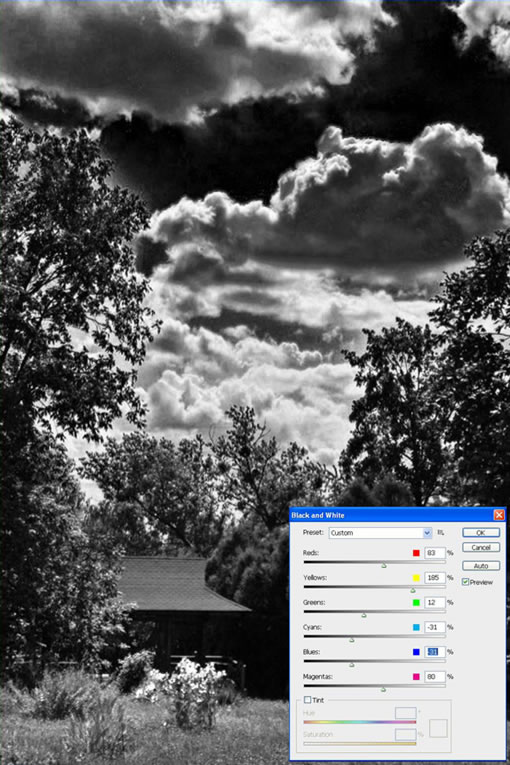
Next press Command + A to make a selection, go to Edit > Copy Merged, and then Edit > Paste. Next go to Image > Adjustments > Black and White and play with the settings.
然后再次 CTRL+A 全选, 编辑-合并拷贝,编辑-粘贴,图像-调整-B&W设置。(这步提高了红、黄,降低了绿色和青色。这步才是全图调整最重要的一步,对通道的调整犹如配药的秘方,倒推几乎是无法破解的。)
Step 8
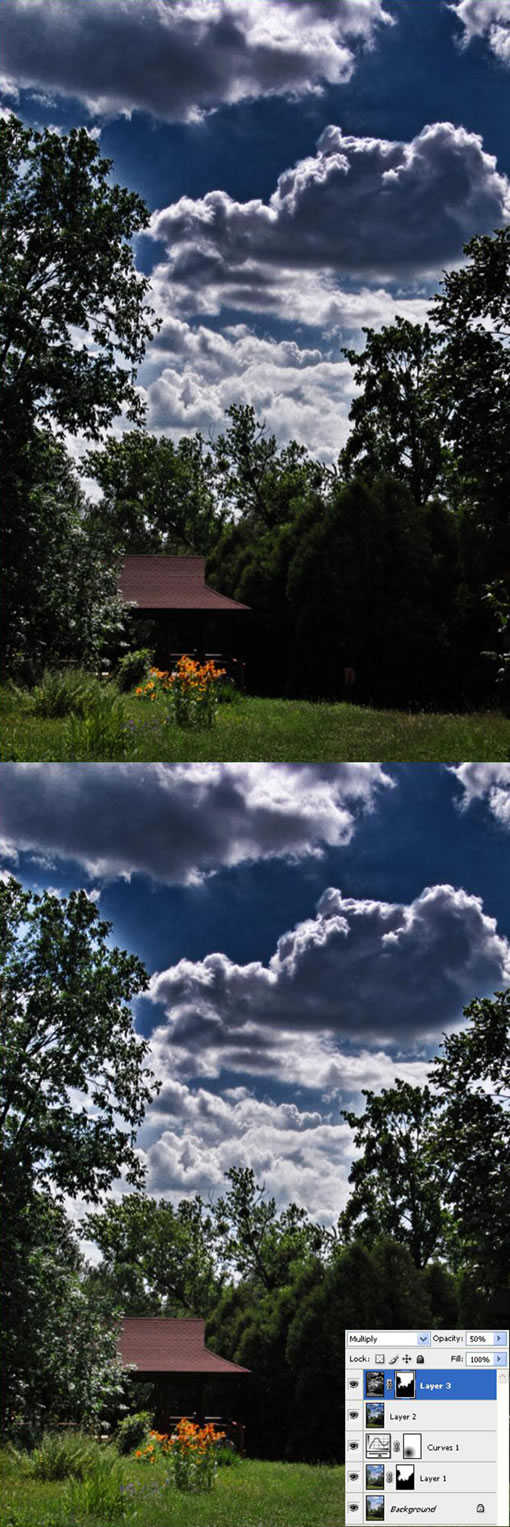
Set it to Multiply and Opacity 50%. Next mask it and using a black brush draw over the lower side.
设置该层为正片叠底,模式降低透明度至50%,然后蒙版该层,使用黑笔刷画出较低的一面。
出处:蓝色理想
责任编辑:bluehearts
上一页 PS和专业滤镜让普通相片变HDR效果 [7] 下一页 PS和专业滤镜让普通相片变HDR效果 [9]
◎进入论坛Photoshop、Fireworks版块参加讨论,我还想发表评论。
|


