|
Step 9
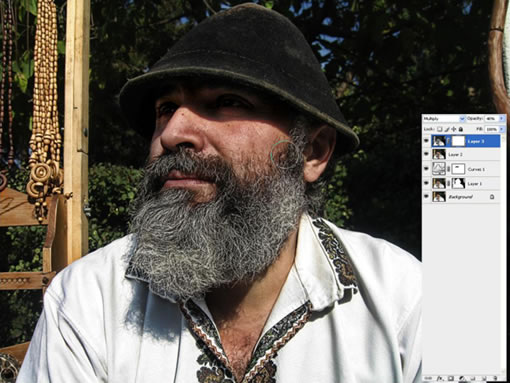
Set the layer to Multiply and the Opacity to 40%.
设置图层样式为正片叠底,改变透明度至40%.(这个参数不妨记下来,对以后调整此类照片有用。)
Step 10
Now make a Layer Mask for this layer and erase some of this effect from the eyes using the Brush Tool (B), just as we did in Step 5.
现在为该层做一个图层蒙版,方法参见第五步。
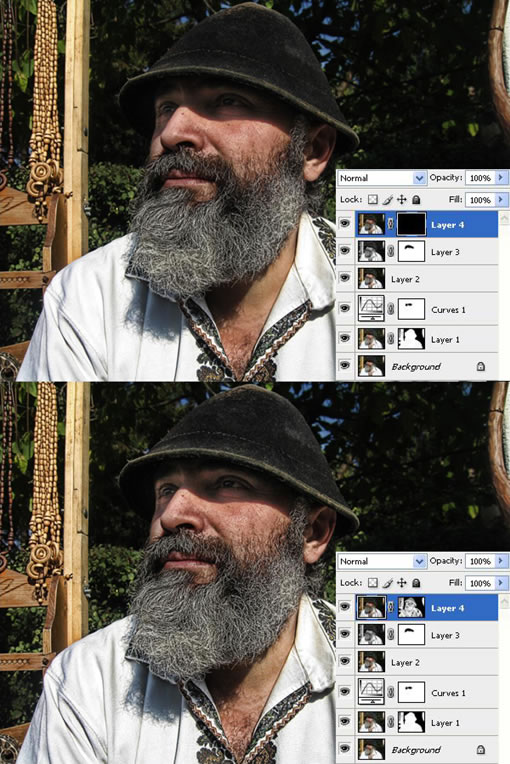
Step 11
Next you need to press Command + A to make a selection. Then go to Edit > Copy Merged and Edit > Paste. Then go to Filter > Lucis > LucisArt and this time use Sculpture set to 20.
然后CTRL+A全选,再编辑-合并拷贝-粘贴,然后执行滤镜-LUCIS-LUCISART 这次使用 雕刻 参数20.
Step 12
Mask the layer and fill it with black. Now using a white brush, you'll need to make visible only a few parts of the image. You'll also need to decrease the opacity of the brush to create the effect gradually. I will try not to draw with the brush over the old man's skin.
继续蒙版该层并添加黑色,使用白色笔刷,降低笔刷不透明度,尽量不要刷在老头的皮肤上。
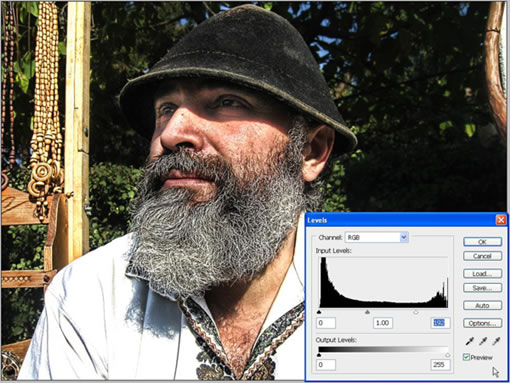
Step 13
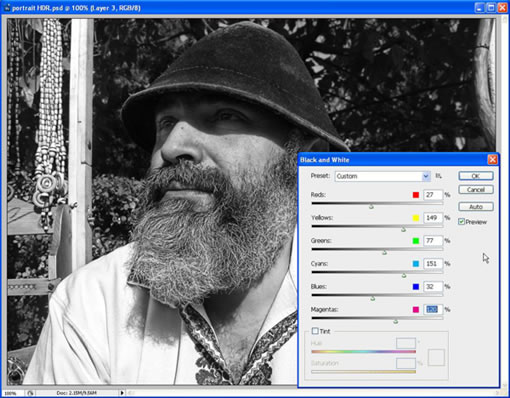
Next I want to make the image more detailed. Select the Levels setting from the Create New Fill Or Adjustment Layer and set the right slider to left at 192.
下面我想让图片变的更细腻,选择色阶调整将滑块设定在192.(这一步就是为了提亮图片)
Step 14
Fill the mask that was created automatically with black. Then with a small white brush set to a lower Opacity, draw over the beard, clothes, and some parts of the wood to lighten them up.
对色阶调整层的蒙版填充黑色,然后用(更低透明度的)白色小笔刷,画在胡子、衣服、和木头的一些部分,使之提亮。
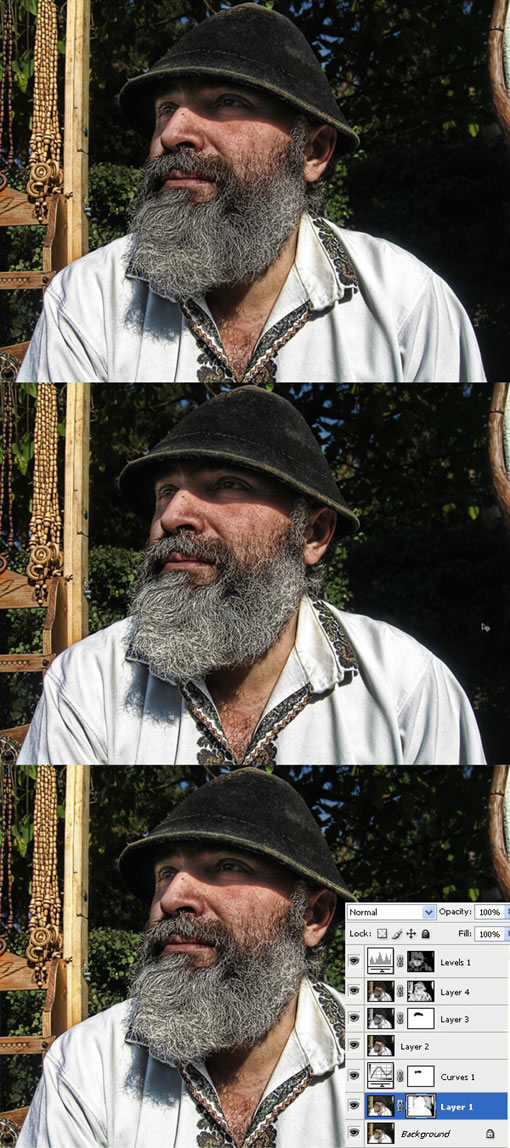
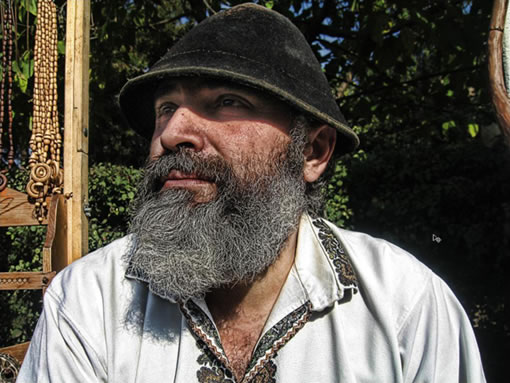
Conclusion of Part I
第一部分的结论
For this particular image you can maybe use some filters that help you smooth the skin, but I personally like it as it is. The final image is below and you can view the larger image here.
你也许可以使用其它一些使皮肤变光滑的滤镜帮助。但我还是喜欢它。

(点击上图全尺寸观看)
出处:蓝色理想
责任编辑:bluehearts
上一页 PS和专业滤镜让普通相片变HDR效果 [2] 下一页 PS和专业滤镜让普通相片变HDR效果 [4]
◎进入论坛Photoshop、Fireworks版块参加讨论,我还想发表评论。
|