|
Part III - Applying HDR Styling to a Scenic Nature Image
第三部分 - 自然风光 图片应用 HDR 效果
This is going to be the last image that we're going to work on in this multi-part tutorial. It's a natural scenic photograph being given an HDR style.
这行文字就不翻译了,到这里如果你感觉文章冗长,看烦了的话,请您忍着点。教程的三个部分,作者结合了3种不同拍摄手法的图片,为大家全方面的展示单张高质量图片的HDR调整,希望你理解作者的好意。要知道调HDR图片的文章,一遍都是在PS前用专业软件来调整的。 这样的文章不太多的。
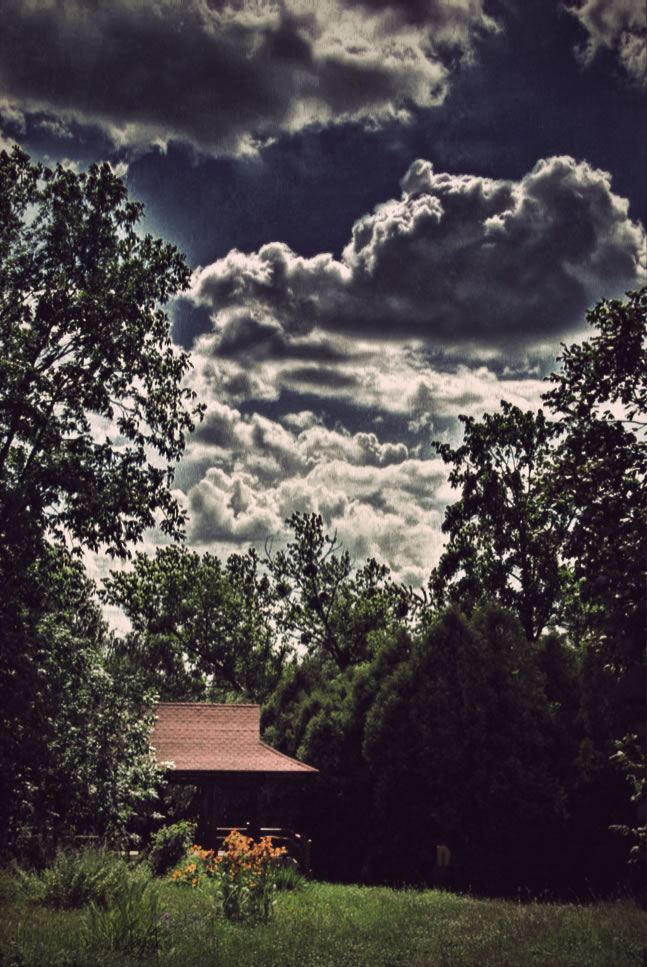
Final Image Preview for Part III
点击看全尺寸图片
(点击上图全尺寸观看)
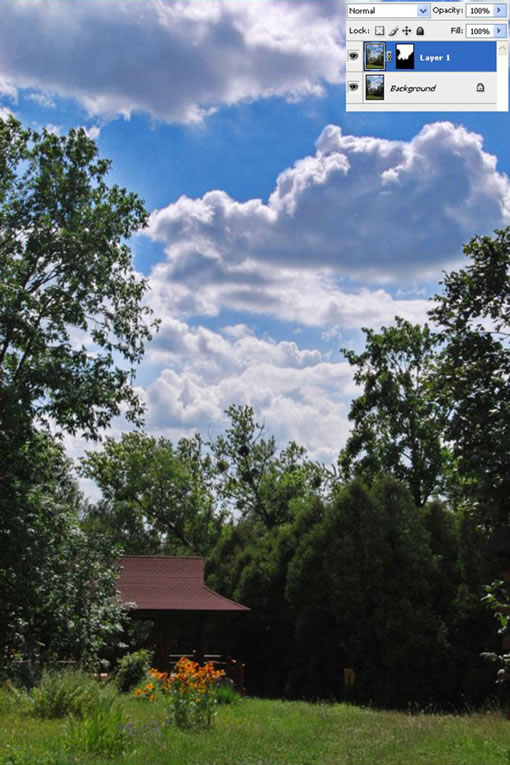
Step 1
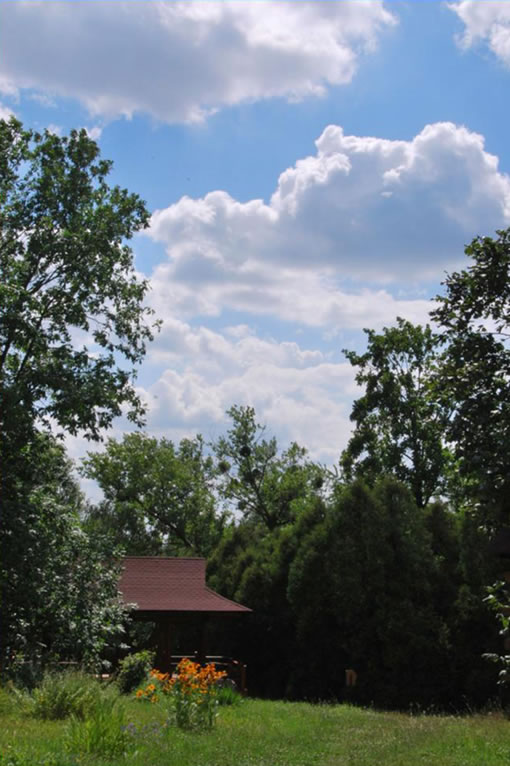
Open up your scenic nature photograph.
打开一张自然风光的图片
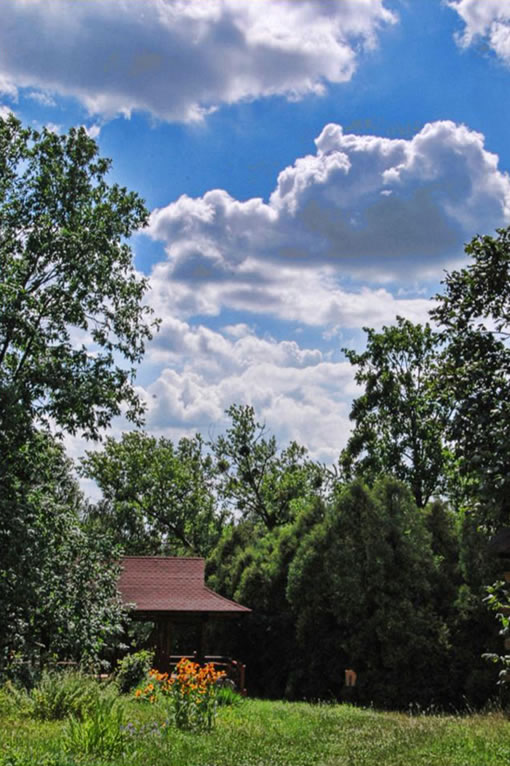
Step 2
Duplicate the layer. Then go to Filter > Lucis > LucisArt, and set the Sculpture to 30.
复制底层,然后滤镜-lucis-lucisart,然后 选择 SCULPTURE(参数 30)
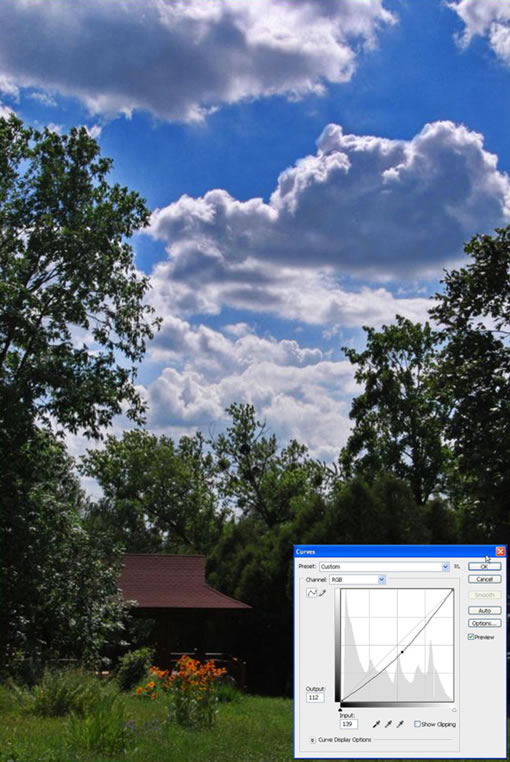
Step 3
Now mask the layer and fill it with black. Then with a white brush draw over the clouds. As you can see my clouds get some really ugly pixels so I used the Clone Tool (S) to cover them up.
现在蒙版该层&填充黑色,然后白色笔刷画云的部分,你也许能透过此步操作看见很差劲的像素,快使用图章工具盖上他们。
Step 4
Next you need to go to Create New Fill or Adjustment Layer and select Curves. Drag the line a little down and press OK. By doing this you will darken the image a little.
下一步你需要建立一个新填充层然后选择 曲线 工具。想下拉一点点,OK,这步是让图片更暗。
出处:蓝色理想
责任编辑:bluehearts
上一页 PS和专业滤镜让普通相片变HDR效果 [6] 下一页 PS和专业滤镜让普通相片变HDR效果 [8]
◎进入论坛Photoshop、Fireworks版块参加讨论,我还想发表评论。
|