|
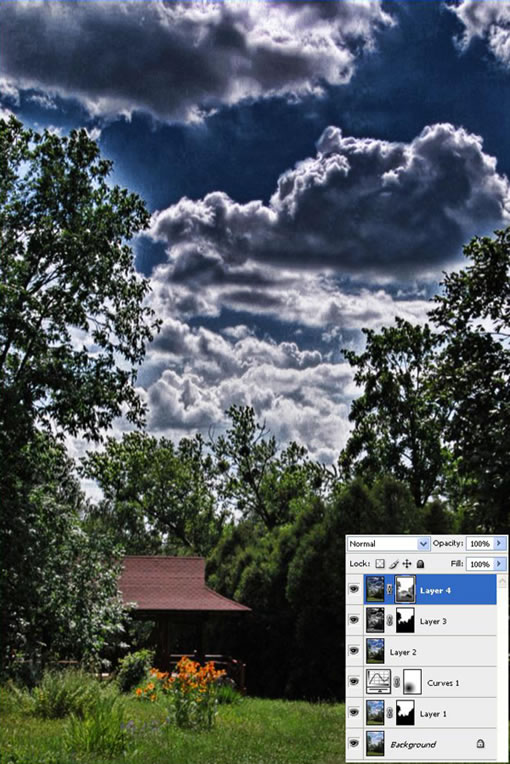
Step 9
Next press Command + A to make a selection, go to Edit > Copy Merged, and then Edit > Paste. Next go to Filter > Lucis > LucisArt and set Sculpture to 20.
CTRL+A 全选, 编辑-合并拷贝, 然后 编辑-粘贴,然后 滤镜-LUCIS-LUCISART,然后选择 雕刻(SCULPTURE)参数设置为 20.
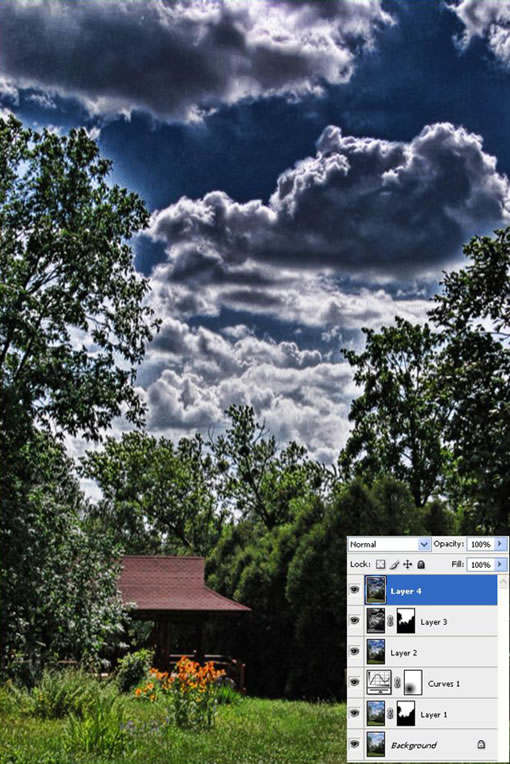
Step 10
Mask the layer and fill it with black. Then using a white brush, paint over the clouds.
蒙版该层并覆盖为黑色,然后使用白色笔刷,把云彩盖上。
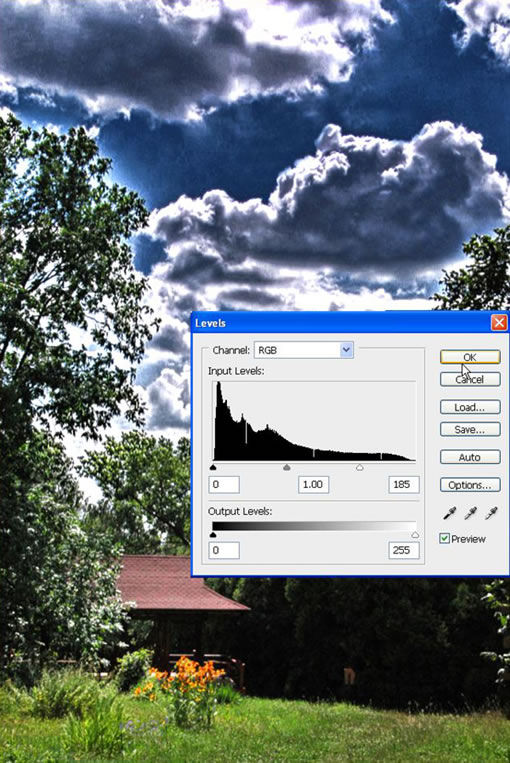
Step 11
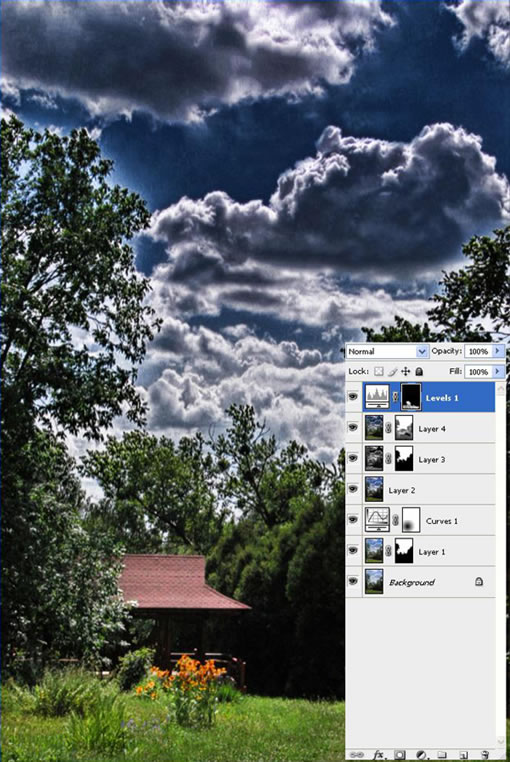
Go to Create New Fill or Adjustments Layer and select Levels. Bring the right slider to the left at 185.
创建新的色阶调整层,选择高光按钮向左拉提亮图像,参数(185)。
Step 12
Fill the mask with black. Then using a small white Brush with a low Opacity, draw over the gazebo and grass.
将色阶层的蒙版填满黑色,然后是用(地透明度)白色小笔刷,画出小屋和草地的部分。
Conclusion of Part III
In the end, you can add a vintage effect as well. The final image is below and you can view the larger image here.
结束时,你能看到一种很棒很古典的效果。完成图点击上面的HERE。

(点击上图全尺寸观看)
好了,全文翻译结束。本人翻译水平极为有限,本来这张帖子本来是要发到PS论坛里的,但怕因为翻译的问题,影响了大家学习质量,所以先到这里来给大家看下,各位BI的朋友,如果您对英文翻译和PS感兴趣的话,请您帮忙校译下质量,谢谢!
经典家园交流:
http://home.blueidea.com/space.php?uid=324123&do=blog&id=8881
本文链接:http://www.blueidea.com/tech/graph/2009/6362.asp 
出处:蓝色理想
责任编辑:bluehearts
上一页 PS和专业滤镜让普通相片变HDR效果 [8] 下一页
◎进入论坛Photoshop、Fireworks版块参加讨论,我还想发表评论。
|